 The first thing I had to do was to sterilize the jars and other equipment used in the bottling. I already had the big water bath, which had been bought years ago (when I thought I was going to do some bottling, but hadn't got around to it). The equipment is covered in warm water and then brought to the boil and boiled for ten minutes.
 |
| ... first I weighed it - I had 1.5kg ... |
While that was boiling, I prepared the fruit ...
 |
| ... then washed it ... |
 |
| ... then I cut it up and removed the stones. |
 |
| I did this outside as I didn't want to smash the kitchen benchtop! |
 |
| Then I blanched the kernels and slipped the skins off them. |
I kept the rest of the stones, as I want to plant some to grow our own apricot trees. I'll talk more about that in a future blog.

Then I put all the fruit, kernels and two cups of water into a big pot ...

... popped the lid on and boiled it all up for about twenty minutes.

While I was waiting for the fruit to boil, I put three saucers into the freezer. These are used later on for testing whether the jam will set.

I also cut out circular covers from some pretty "fruit" fabric I found at Spotlight a couple of days ago.
 By the time I had finished that, the fruit was ready. I added a kilo of sugar, which is a conservative amount, but I didn't want the jam to be too sweet. Then I set the pot to boil rapidly for another fifteen minutes. After that, I took one of the saucers out of the freezer and spooned a little of the jam onto it. If it has reached setting point, after a minute or so, when it has cooled, the liquid should have turned fairly solid and the surface should "pucker" when you nudge it with your finger.

Another five minutes of rapid boiling and a second saucer test and I felt the jam was setting a little better (although not as solid as I would have liked). So, I stirred in the final ingredient - the juice of one lemon.

I turned off the pot to allow the jam to cool slightly while I took all the sterile equipment, jars and lids out of the water bath and laid them on clean paper towel.

Even though I enjoyed all the preparation and boiling, this is where the fun part really begins ... pouring the jam into the jars!! The special wide-mouthed funnel that I had bought at the same time as the jars (online from Kitchenware Direct), was most useful in stopping any slopping down the outside of the jars.

Once the jars were filled (leaving a 2cm gap below the lid), I screwed the lids on tight. I had enough jam to fill seven and a half jars.

I popped six of the jars back into the water bath and brought the water back to boil rapidly for fifteen minutes. This will vacuum-seal the jars.

Following the Italian jar manufacturer's instructions, I turned the other two jars upside down for fifteen minutes, which I suppose heats up the lids and does a similar job of sealing the jars. I will put these two into the fridge anyway and we'll eat this jam first.

Once they had finished boiling, I pulled the jars in their basket out of the water bath and set them on the bench to cool. I was glad to see that the centres of the lids had all "popped down", which meant they were vaccum-sealed.

When the jars were cool, I placed the fabric covers on them and tied them with some pretty red ribbon.
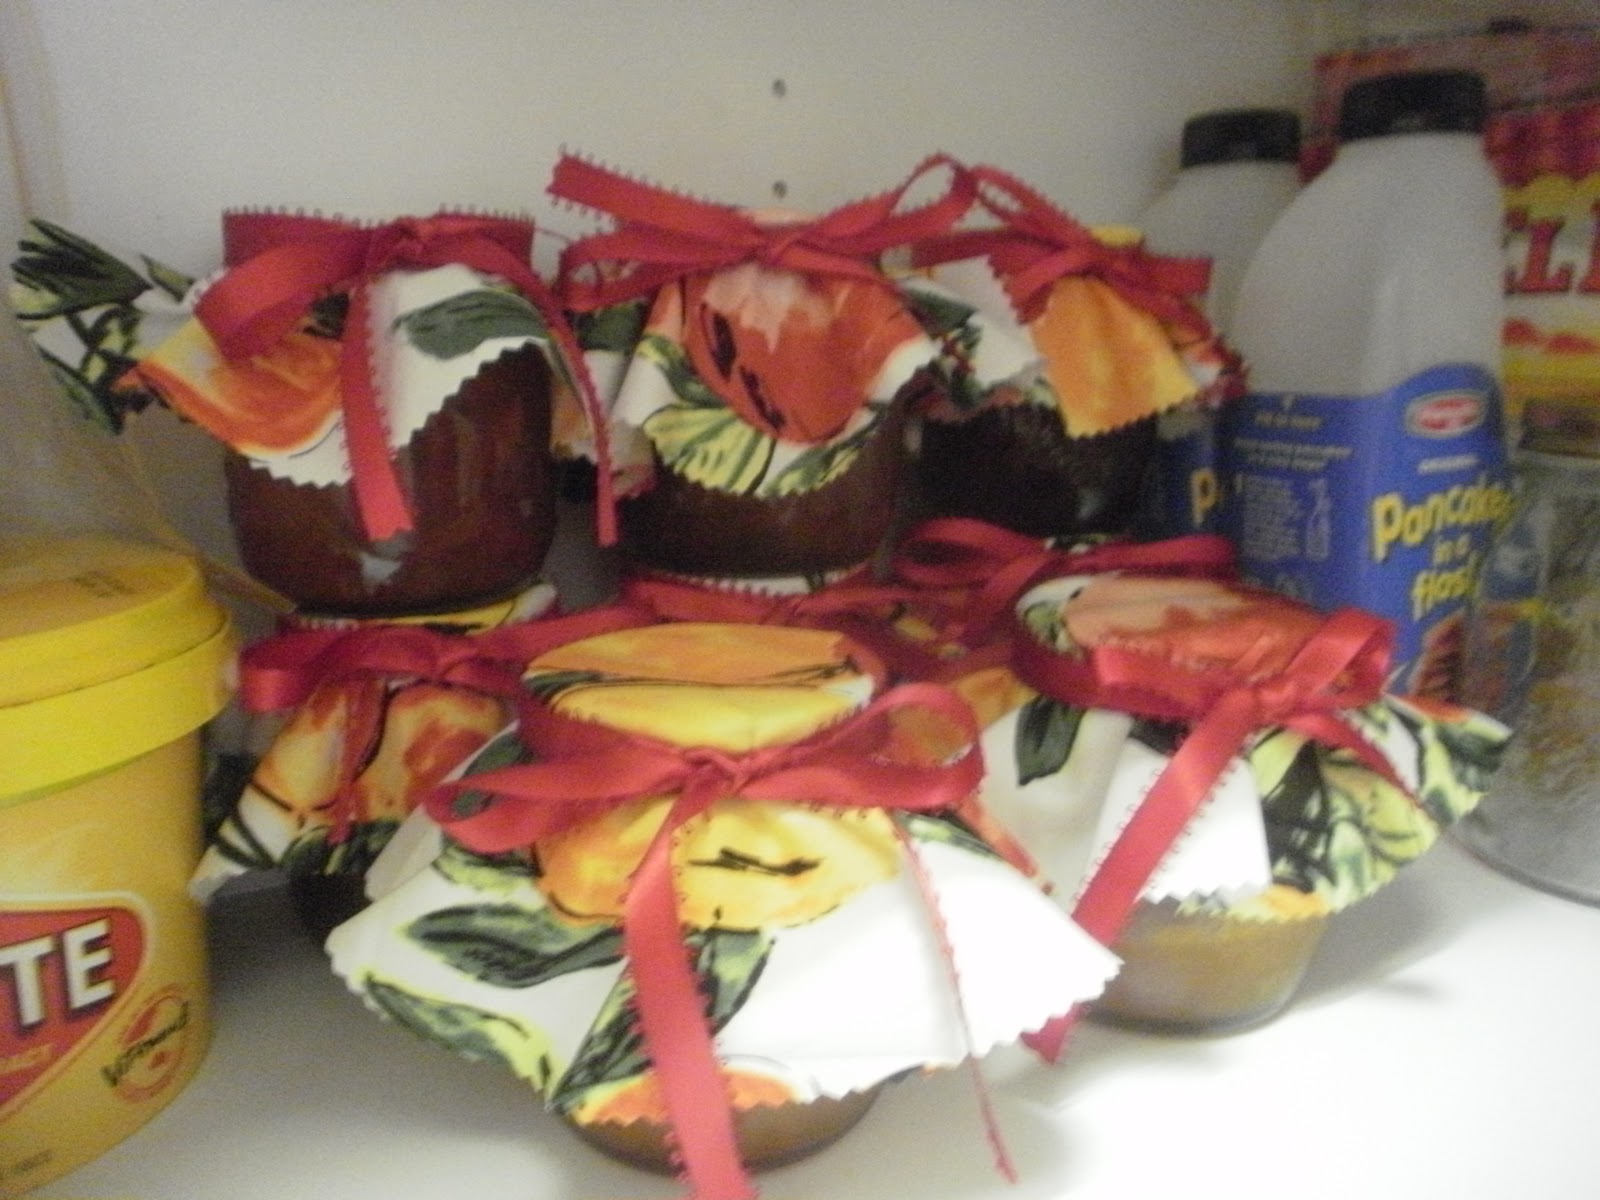
It was with such a great feeling of satisfaction that I stacked the jars into my pantry! They look so pretty with that deep golden-apricot colour of the jam shining beneath the pretty covers!

Even better was the lovely yummy taste of the jam on my toast this morning!! It is pretty good for my first effort - very fruity and quite tart, although a little runnier than I would like to see. I will have to increase the sugar in my next batch.
I can't describe what a fantastic sense of achievement I have from having succeeded with making my first batch of apricot jam! I will give a jar to the mother from Mainly Music when I see her again next month, to thank her for the fruit. I hope she likes it! If I knew a song about jam-making, I would sing it right now, but I will have to make do with just humming something whilst I munch my toast.
I can see the blood plums hanging heavy on the branches of the tree outside my window, the fruit beginning to turn from apple green to a rosey pink. It looks like plums are the next on the list for bottling ...
No comments:
Post a Comment